
Now Install the LAMP on Amazon Linux 2023. LAMP is an open source web server for hosting a static website and loading this website with multiple users traffic. Maintain all traffic from Amazon data center.
I can host my site on Amazon Web services. It provides high quality performance and best bandwidth support. You can host your wordpress site on this by following content. Now try the LAMP on Amazon Linux 2023.
What is Amazon Linux?
Amazon Linux is a private Linux cloud operating system. This type of linux is provided by amazon from their amazon web services console. It is an open source cloud distro for aws users. This linux is available with high quality performance and best user experience.
Amazon Linux will launch their Latest Linux distro Amazon Linux 2023 edition on 16th March 2023. This linux’s short form is AL 2023. this linux is based on fedora Linux operating system. If you can apply for the free tier account then you can get the Linux server free for 1 year.
Just sign up on aws account by providing your all personal details and create aws free tier account.
Create Amazon Linux 2023 Instance
Login in your aws account and go to the aws dashboard. Here you can show the EC2 instance option then open the ec2 instance. Click on the create instance button then open the new ec2 create dashboard.
You can follow all my steps carefully. Put your new ec2 instance name on the given first option. next you can show the AMI selection option. You can select the Amazon Linux 2023 option. Asking for the ec2 instance size option. Here you can select only the free tier supported size for saving the bill. Then select the default security group option. Create the SSH key and save this key in your file manager because this key is so important for access to this server. Then select the storage size. Here you can select the maximum 30GB storage because 30 gb is available for free. Click on the create button to create the instance.
You can wait about 5 minutes to create the instance process. After completing this process you can show the instance status is running. Copy the instance ipv4 address and connect with the SSH client.
Open the command prompt on windows pc and go to on your SSH key (.pem) file is save directory and put the following command :
ssh -i your_key.pem ec2-user@your_ipHit the ↵ Enter to connect your server.
httpd server install
Now update your packages by following command :
sudo dnf update -yNow install the httpd by following command :
sudo dnf install -y httpdPress y and start the httpd installation process.
Now start the httpd server by following command :
sudo systemctl start httpd
sudo systemctl enable httpd
Now checking the httpd status
sudo systemctl status httpd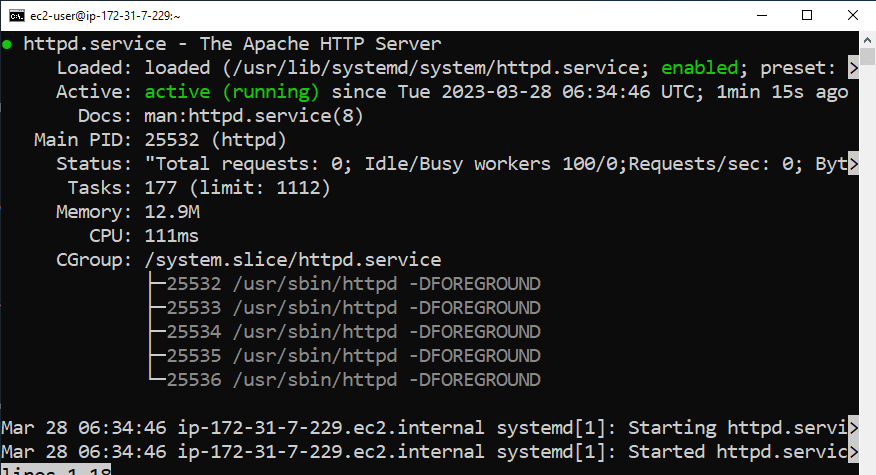
Here you can show status is Activate (running) then now you are able to use this. Our web server is set up successfully now we can install and create databases.
Install mysql and php
Now install the php and mysql services to create and manage all the data and access this all data securely. Put following command to install the php, mysql and php modules by following command :
sudo dnf install php-fpm php-mysqli php-json php php-devel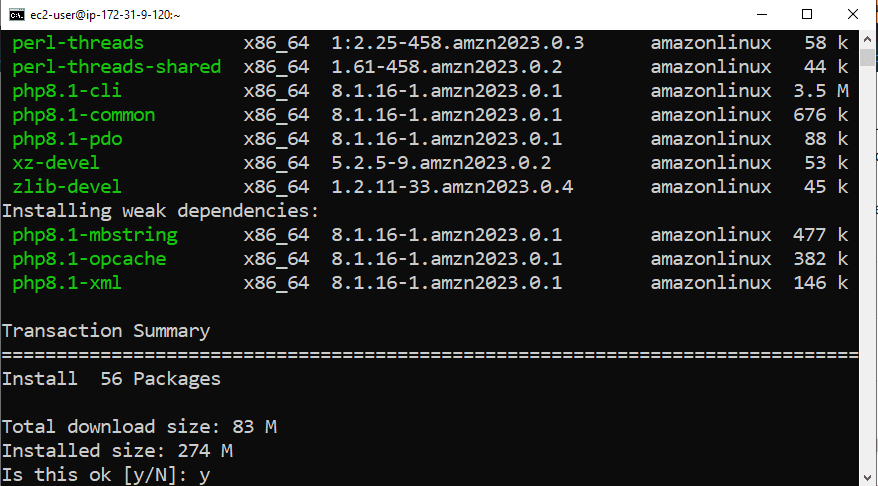
Press the y to start the all packages installation process. It’s all done. Now we can create the maria database user account and try to get web access.
Setup mariadb
Install the mariadb by following command :
sudo dnf install -y mariadb105-server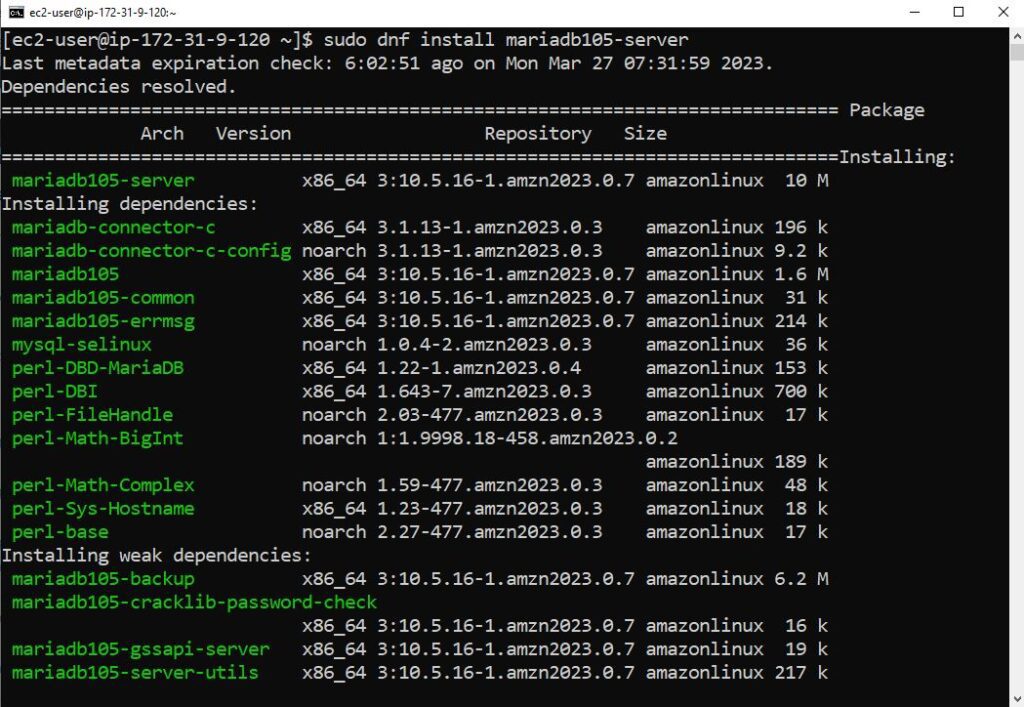
Press y to start the database installation process. Now follow this step so you can create and manage the databases the LAMP on Amazon Linux 2023 server. Now follow this command to start mariadb sockets.
sudo systemctl start mariadb
sudo systemctl enable mariadb
Now check the mariadb server status with following command :
sudo systemctl status mariadb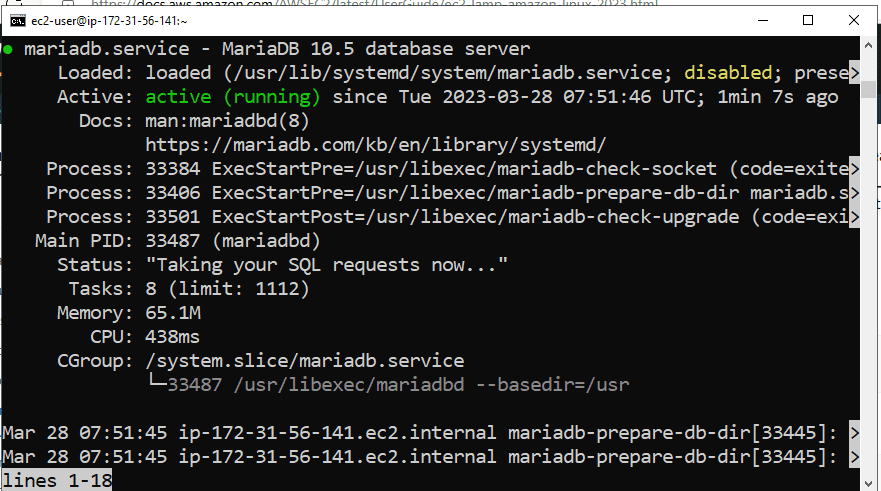
Here you can show server status is running then press the q to exit from the status. Now test our phpmyadmin status with the following link.
http://IP_ADDRESS/phpMyAdminHere you can put the ec2-user root password to login in the server and create and access the all server database remotely. Now enjoy the LAMP on Amazon Linux 2023.
