
Install wordpress on Amazon Linux 2023 with best performance and get one year free hosting with best performance. Aws provide the best services on their portal. If you are interested then you can complete the signup process. You need only aws account to create the Amazon Linux EC2 Instance with Amazon Linux 2023 AMI and follow all my steps. Now connect your ec2 instance with SSH Client.
ssh -i your_key.pem /file_directory/ ec2-user@server_ipHere you can put your server all requirements option and connect to the SSH server. Now update all packages by following command :
sudo dnf update -yNow install the web server to host the site.
Install LAMP server on Amazon Linux 2023
LAMP server is required to use all server and web server access and host the size on server. Put the following command to start Apache web server, php and php modules installation process.
sudo dnf install -y httpd wget php-fpm php-mysql php-json php php-devel
After putting this command to start all php modules and services installation process. Now install the maria database by following command :
sudo dnf install -y mariadb105-server
Install the mariadb server and now allow the permissions to access the httpd and mariadb access.
Enable httpd service
Enable the Apache web service with following commands :
sudo systemctl start httpd
sudo systemctl enable httpd
Now check the service socket status with following command :
sudo systemctl status httpd
Here you can show the server status is Active (Running) then press the qto exit from the status. Now start the Mariadb services.
Enable Mariadb services
Put the following command to start mariadb service socket
sudo systemctl start mariadbNow check the mariadb server status with following command :
sudo systemctl status mariadb
If here you can show the mariadb server is Active (Running) then now we can test the server.
Test the web server
Here go to on aws EC2 dashboard and click on the instance. Select the Amazon Linux 2023 and click on the security group. Here you can add the new http rule on tcp and save. Put the following link to test your server.
here you can put your aws ec2 amazon linux public ipv4 address. If you can show the It’s working then your server is ready.
Configure database for WordPress on Amazon Linux 2023 Server
Now create and modify the mysql database and create a wordpress database to store our wordpress site.
Configure mysql database
Now configure the mysql database to locate the wordpress data and user information. First we can switch to the root user.
sudo suNow start the mysql configuration process.
sudo mysql_secure_installation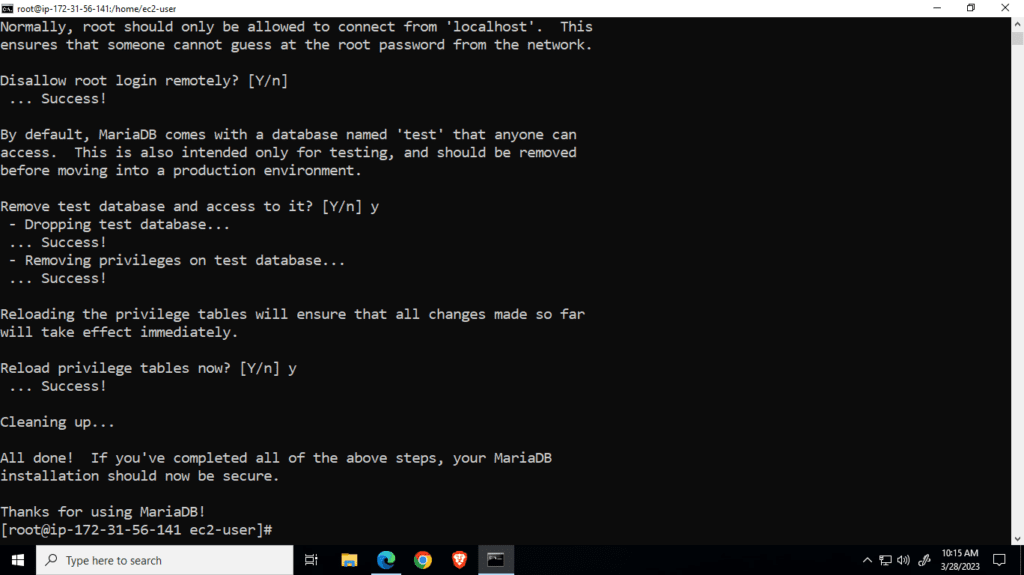
After putting this command you can put your root password and do all the answers from the following list.
- Switch to unix_socket authentication = y
- change the root password =y (create the new password)
- Disallow root login remotely = y
- Remove the test database and access to it? = y
- Reload the privilege tables now? = y
Create database for WordPress
Now create the wordpress database for storing all wordpress site data remotely. Now create the database by following command :
mysql -u root -p After putting this command, now put the root password and redirect to the Mariadb panel in the terminal. Now put the following scripts on terminal
Scripts
CREATE DATABASE wordpress DEFAULT CHARACTER SET utf8 COLLATE utf8_unicode_ci;

GRANT ALL ON wordpress.* TO 'wordpress_user'@'localhost' IDENTIFIED BY 'W0rdPr3ss!!';

FLUSH PRIVILEGES;

EXIT;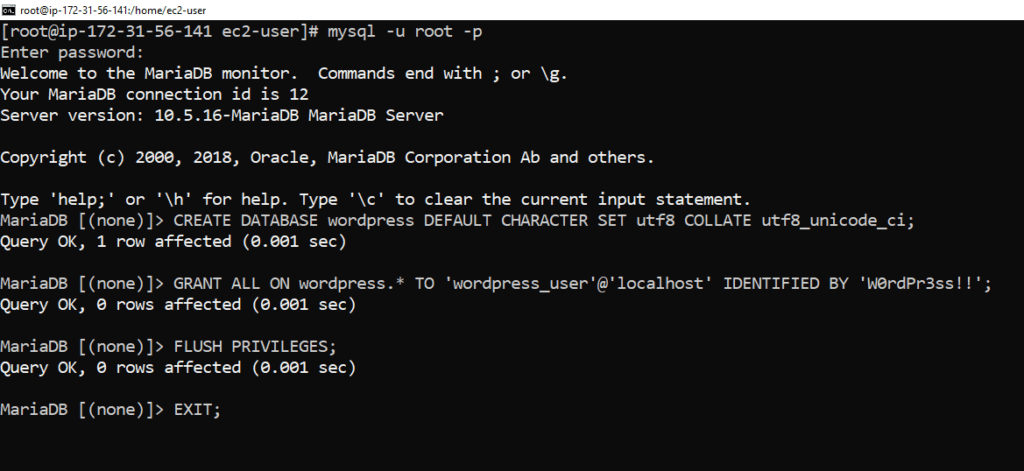
Now our wordpress database is created successfully. Now we can start the wordpress installation process.
Configure WordPress on Amazon Linux 2023
all the database and setup process is completed. Now we can download and set up the wordpress installation process. Put the following command to download the latest version of wordpress package.
sudo wget https://wordpress.org/latest.tar.gzAfter complete the downloading process create the wordpress directory by following command :
sudo mkdir /var/www/html/wordpressWordPress directory is created successfully now we can extract the wordpress packages on a given directory.
sudo tar xzvf latest.tar.gz --directory /var/www/htmlNow create the wordpress configuration files on apache server with the following terminal command.
nano /etc/httpd/conf.d/wordpress.confAlias /wordpress "/var/www/html/wordpress/"
<Directory /var/www/html/wordpress/>
AllowOverride All
</Directory>Put the given script on the terminal and press ctrl + x and y to save this configuration file.
Now create the wordpress .htaccess file for wordpress by given command :
sudo touch /var/www/html/wordpress/.htaccessCopy the sample wordpress config
sudo cp /var/www/html/wordpress/wp-config -sample.php /var/www/html/wordpress/wp-configCreate the upgrade directory of wordpress by following command :
sudo mkdir /var/www/html/wordpress/wp-content/upgradeNow change the additional permissions from the given commands :
sudo find /var/www/html/wordpress/ -type d -exec chmod 750 {}\;

sudo find /var/www/html/wordpress/ -type f -exec chmod 640 {}\;

chmod 0777 /var/www/html/wordpress
Now edit the wp-config with following command :
sudo nano /var/www/html/wordpress/wp-config.phpAfter putting this command press the ctrl + w and put “AUTH_KEY” and hit the ↵ Enter to find this script and replace all values from the given script.
define('AUTH_KEY',         'p}3%B||Fj@@=ssOah?_1fo`YaFV+01QSt^dDRL-8,z)!CLB/G^W+H+ f zW=-OA_');
define('SECURE_AUTH_KEY',  '-bv1Y:URjT!r-r<z#zDzy$2Yvxa@R|w9kmRD%^`@fxwE_C>=/_RVEvA/i[@Fyot6');
define('LOGGED_IN_KEY',    '-<a.Y,:e&PKq~<&kn{Xv#*F-3p%c|fc-&Z$|LO^+[JOd5 l*)dd]=[Mgx..~}quW');
define('NONCE_KEY',        'OVoD2lYqsc5l7C^pt4-tjz|6iF|8ZU8},9q0b[Pcb~@wL-|tXPWr-7:$aJ10Z(em');
define('AUTH_SALT',        '54C+gC#RF$+bSujvN0FcKYN ~iut;wY^_-xgqrQD+Phc{e;4KQL@BmZ{EZ%Hu%N.');
define('SECURE_AUTH_SALT', 'HhlpC1jxKZ{Q,&X,Y gSDJZzP`~^,K|G/@R#euS-)E,a5-j6^y1G<-W8!}-E[yQg');
define('LOGGED_IN_SALT',   '9rgoDMb^DtGW%J(pmN.S%7}t2BtG?k!t[U5Y={;uiB`4e-V3w- $@1M[f{x*!E $');
define('NONCE_SALT',       '/[q^@7 {vJcJt-VDVKS 1,|S+P#RC;s$VBO+{2ROR`!8M2a^~RUj`$Vj]Wq] #0%');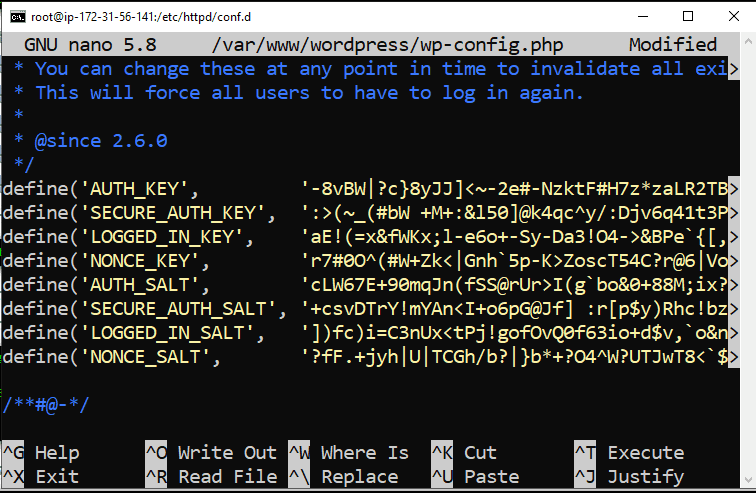
Find the “DB_NAME” and put the all values from the given list.
- DB_NAME = wordpress
- DB_USER = wordpress_user
- DB_PASSWORD = W0rdPr3ss!!
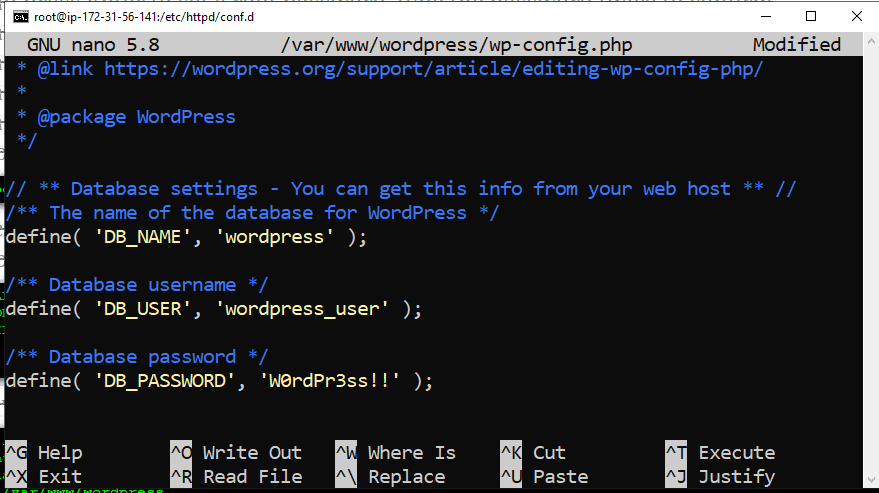
put the all values from the given and press ctrl + x and y to save all the changes.
Now restart the apache web server.
sudo systemctl restart httpdAfter restarting the server now we can test the wordpress.
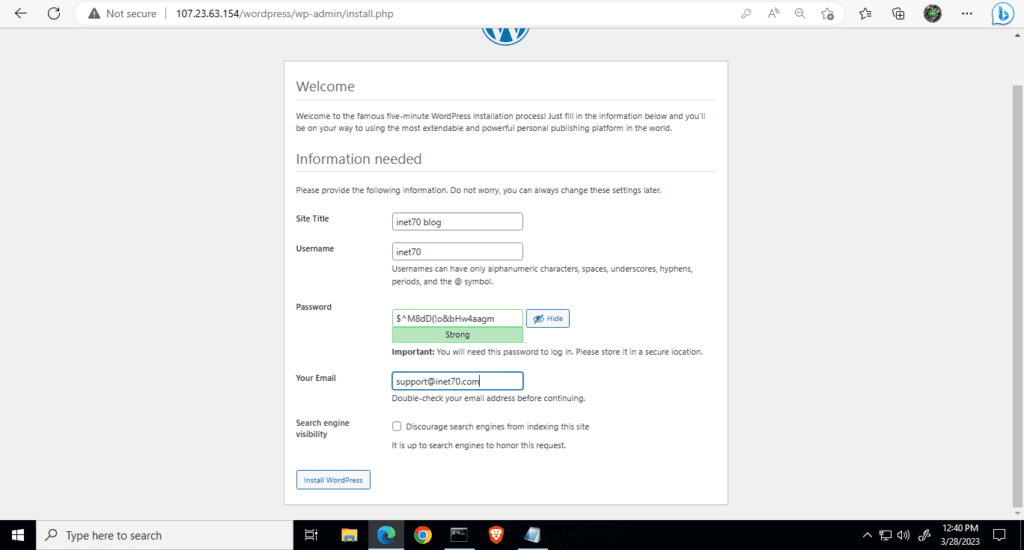
now create the wordpress username and password then click on the install button. Now your wordpress server is ready to use. Use this server and host your powerful site.
