
Garuda Linux is a popular Linux distribution created by Indian developers. It's available in 27 editions with KDE Plasma, XFCE, Gnome, Cinnamon, Stile, i3wm, Sway, and Hypriond. Special editions include KDE Dragonized and KDE Dragonized Gaming Edition. Garuda Linux supports the Pacman package manager by default. In this tutorial, I provide complete information about the installation of Garuda Linux.
For this tutorial, I use Garuda Linux KDE Dragonized Edition for installation. To install Garuda Linux Dragonized, you need 4GB RAM, 30 GB free storage on your disk drive, and a 64-bit architecture CPU model system.
Install Garuda Linux
There are multiple factors available to install Garuda Linux, like installing on a computer, laptop, and other virtualization platforms. If you are installing Garuda Linux on computer hardware, then make a bootable Garuda Linux pendrive. If you are using a virtual machine, then download the disk image file and boot the VM from the disk drive. After completing this step, the installation panel will appear on the desktop.

From the given screenshot, you can see the Garuda Linux welcome page. In Garuda Linux, you will get Garuda Assistant, Garuda Gamer, Garuda Network Assistant, Garuda Boot Repair, System Cleaner, and more tools. Just click on "Install Garuda Linux" to switch to the installation page.
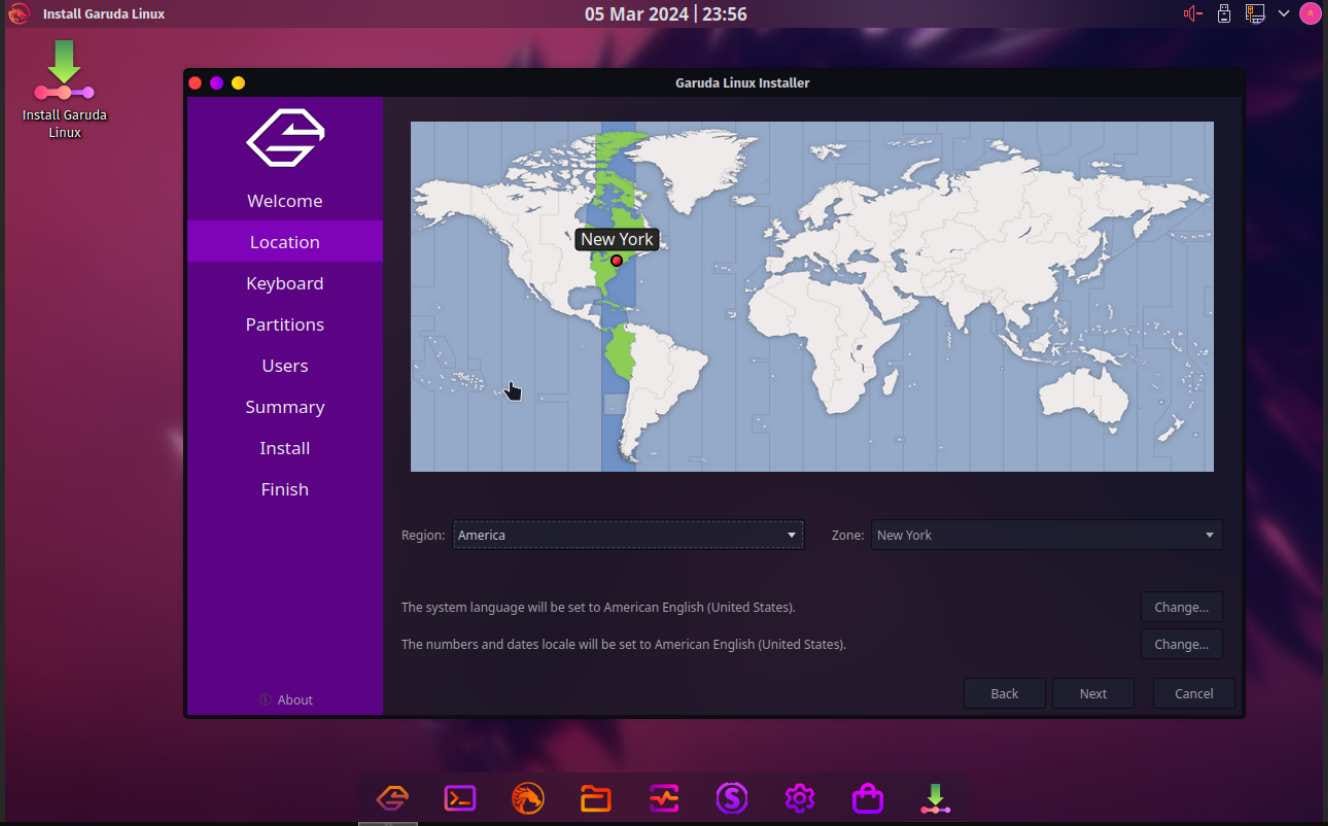
The second page shows the location selection option. Select your real-time location, set the timezone, then press "next" to go to the keyboard selection page. Select the keyboard and click on next.

This is the disk partition option. In this section for BIOS, select the specific disk drive where you want to install Garuda Linux if you have attached multiple disk drives. Tick the "Erase Disk" option to partition the disk drive, then click on the next button.
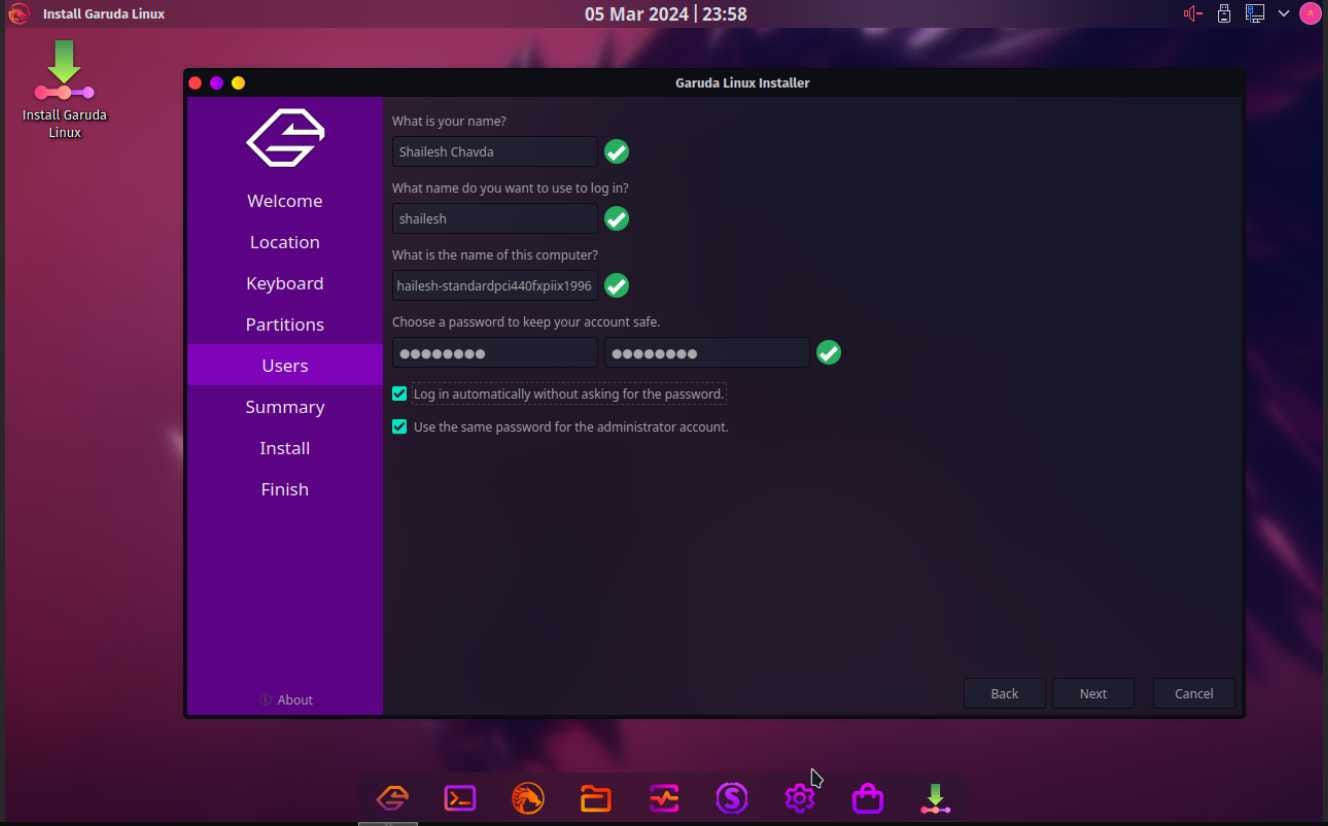
This is the main page for creating the user to manage all services. Input your name in the name section, create a username, then create and verify the password for your account. In additional options, tick "Automatically login to computer without asking password", then click on the next button.

In the next page, you can see the summary to install Garuda Linux. Check all the details carefully. If all the information is correct, then click on "Install" to start the Garuda Linux installation process.
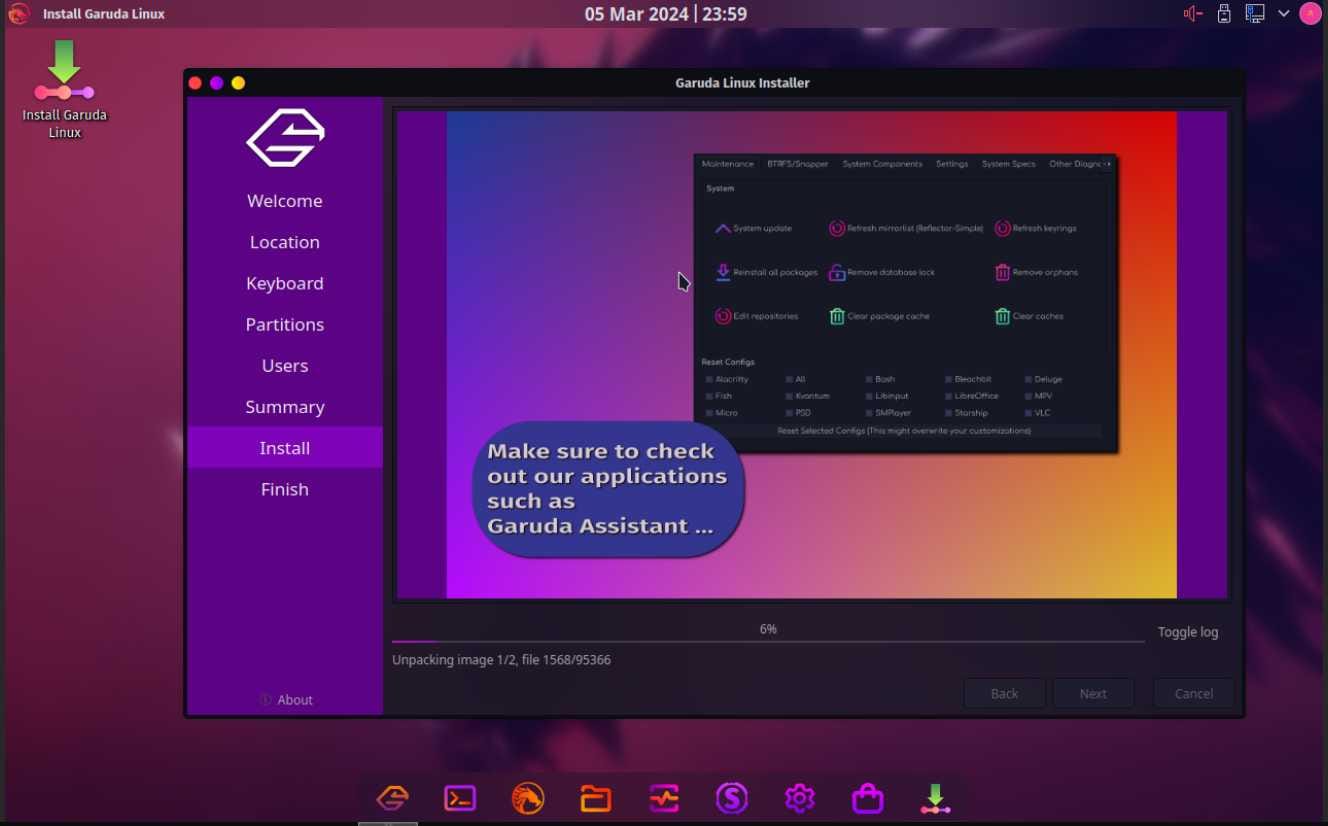
From the screenshot, you can see the Garuda Linux installation has started. It takes some time to complete the installation. After completing the installation process, reboot your system, remove the installation media, and boot the system from the hard drive.
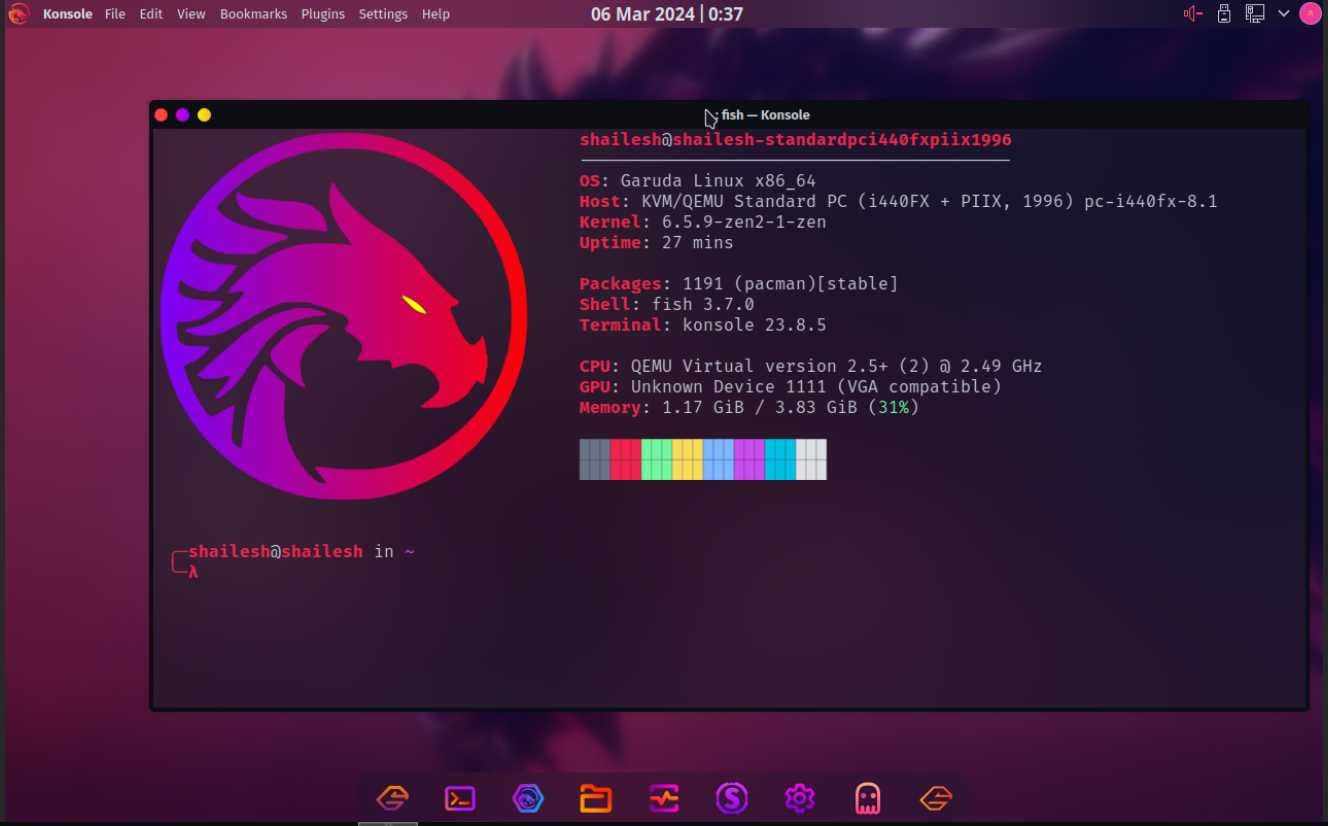
From the screenshot, you can see I have successfully installed Garuda Linux on my system. If you encounter any type of error or problem during installation, comment on this article, and I can help you.
