
Wget is the most popular CLI (Command Line Interface) tool for Linux and Windows. On Linux, this tool is inbuilt, but it's not directly available on Windows and macOS. For Windows, an official software is available that you can download and start using from Command Prompt and PowerShell. In this tutorial, we will focus on using wget on macOS.
Wget Command on Mac
If you need to download any package from a URL, you can use the wget command. It's not directly installable on macOS. To install it, we need Homebrew on Mac. Here is some information about Homebrew.
What is Homebrew?
Homebrew is a macOS terminal tool for installing packages. It provides all the required package installation services. To install Homebrew, you need to visit the official website and install all required packages using the terminal. Once the installation process is done, you can follow my steps to set up wget on macOS.
Install Wget with Homebrew
To install wget, your first requirement is to have Homebrew installed on your macOS. If you have it installed, then input the given command in the terminal to start the wget installation:
brew install wget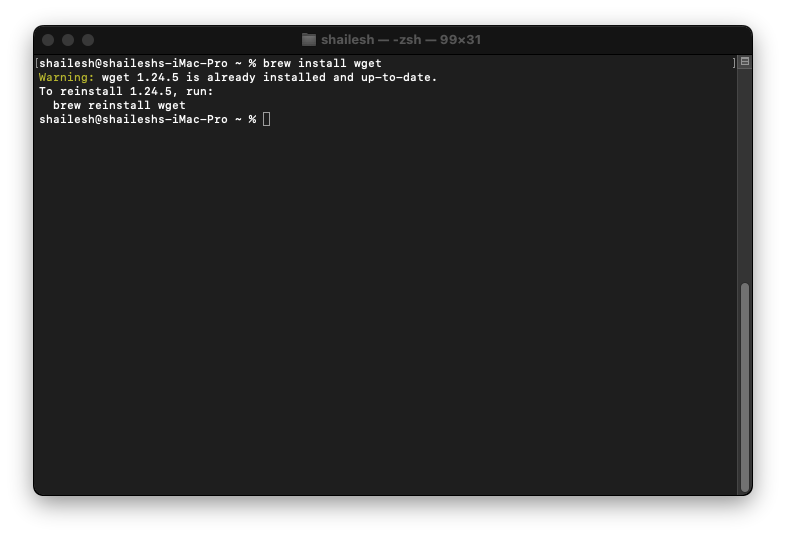
After inputting this command, the wget installation process will start. You need a good internet connection for fast processing. Now your wget is ready to use. If you need to get started with the command line to download a package, then you need to input the command in the given format:
$ wget https://example.com/package.xyz
You can download any packages from the command line interface easily and quickly without needing any browser. It's very helpful when you can share your Mac's access over SSH to download the package.


