
Ubuntu is the best Linux distribution for web developers and testers. It's the best option with GUI interfaces and user experience. If you are currently using Debian, Arch Linux, or another distribution and you need to experience the Ubuntu desktop environment, then you can try Ubuntu with Virt-Manager. Follow the given steps to install Virt-Manager.
After installing Virt-Manager, your Linux desktop is ready to make an Ubuntu virtual machine. To install Ubuntu Desktop, download the official Ubuntu 24.04 desktop image. You need 4GB RAM for the virtual machine, a 2-core virtualization-supported CPU, and 25GB of extra free storage on your hardware.
If you meet the given requirements, follow the steps to install Ubuntu. Go to the Virt-Manager software. On the dashboard, click on the "New Virtual Machine" to create a new VM.
Step 1: Follow this step to select the virtual machine with the proper method. From this list, you can see options like "Create VM from Local Installation Media" or "Create VM From Existing Disk."
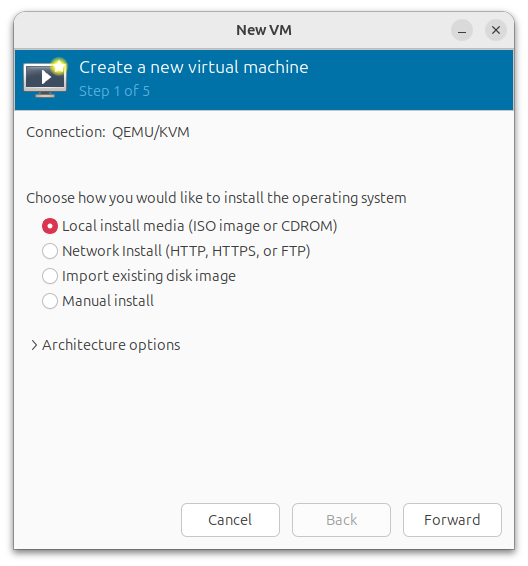
Here, select "Create VM From Local Installation Media" and click on the next button.
Step 2: Choose the correct installation media.
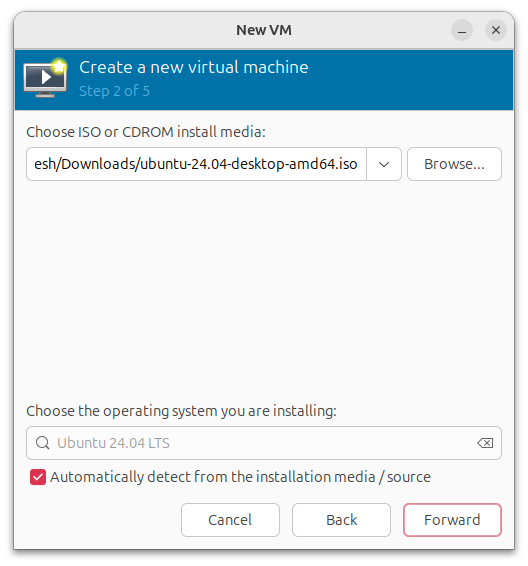
Here, select the Ubuntu 24.04 disk image file. Virt-Manager will automatically detect the operating system. Then click on the forward section to move to the next step.
Step 3: Now select your memory and CPU information.
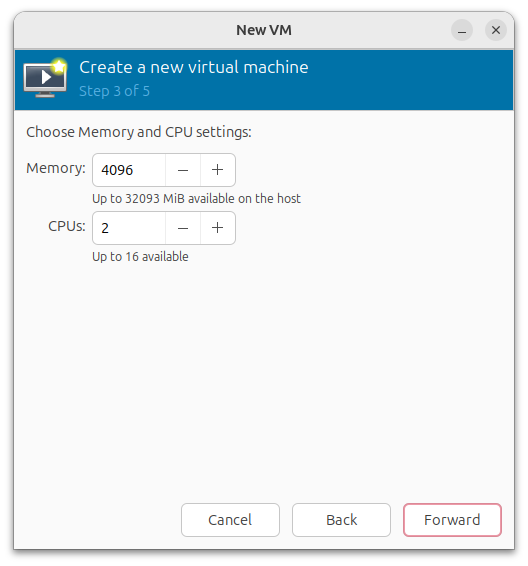
In my device, I need 4GB RAM and a 2-core CPU. You can edit your RAM and CPU details according to your hardware.
Step 4: Now create your virtual machine's virtual disk to store all data about your virtual machine booting.

Here, I can assign a 25GB virtual machine disk file. You can use the storage disk you need, but 25GB is required.
Step 5: Final review of your virtual machine to edit your details and make changes.
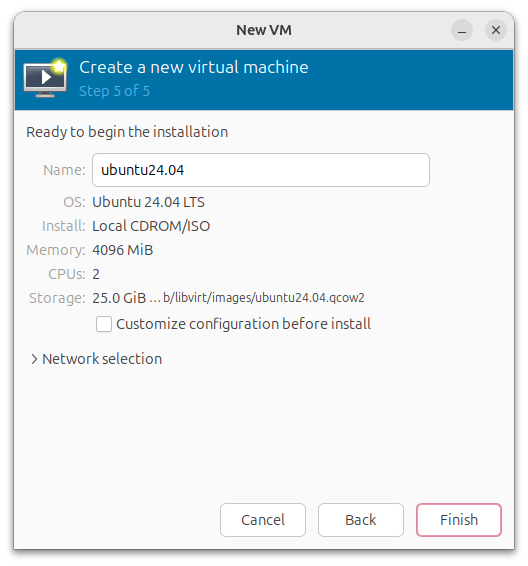
From the screenshot, you can see the summary of the virtual machine. Here you can change or edit your RAM info and more by pressing the back option. If everything is done, then click on the finish button to start the virtual machine.
Now you can see the virtual machine booting option. Select the "Try Ubuntu" option to start the Ubuntu installation process.
Here you can see the beautiful Ubuntu welcome page. If you need to run the Ubuntu system without installing, then use Ubuntu from the live CD or drive without installing. If you need to install, then open the Ubuntu installer.
Now you can see the welcome option. Click on the "Preparing Ubuntu" option. Then select the language option. Select the language according to your region. Then click on the next button.
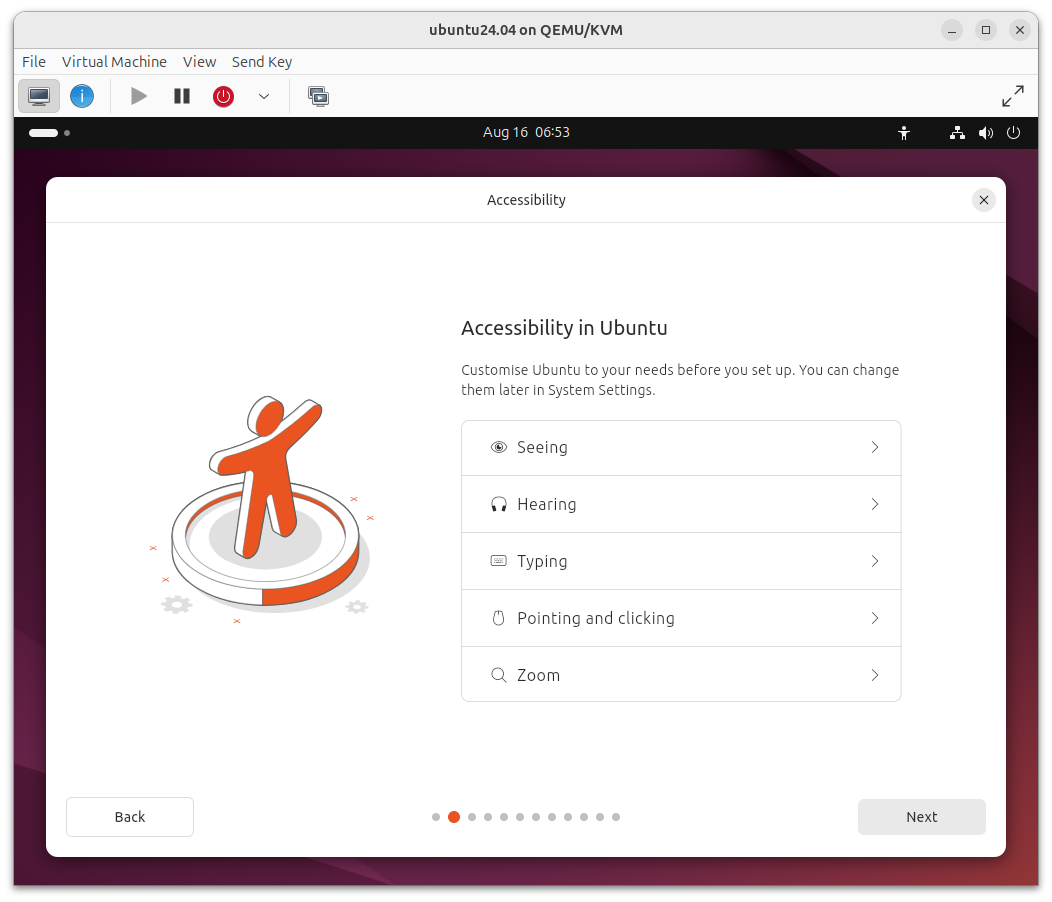
On the next page, you can see the accessibility option. On this page, you can see options for seeing, hearing, typing, pointing, and clicking. If you need to enable any accessibility options, then enable them now and jump to the next page.
On the next page, you need to select the display layout. A lot of keyboard layouts are available. You can add according to your region, then move to the next step. In the next step, you can see the "Connect to Internet" options. If you need extra software and to install Ubuntu with the latest packages, then continue to the next step. An internet connection is recommended for the best experience. Then move to the next page.
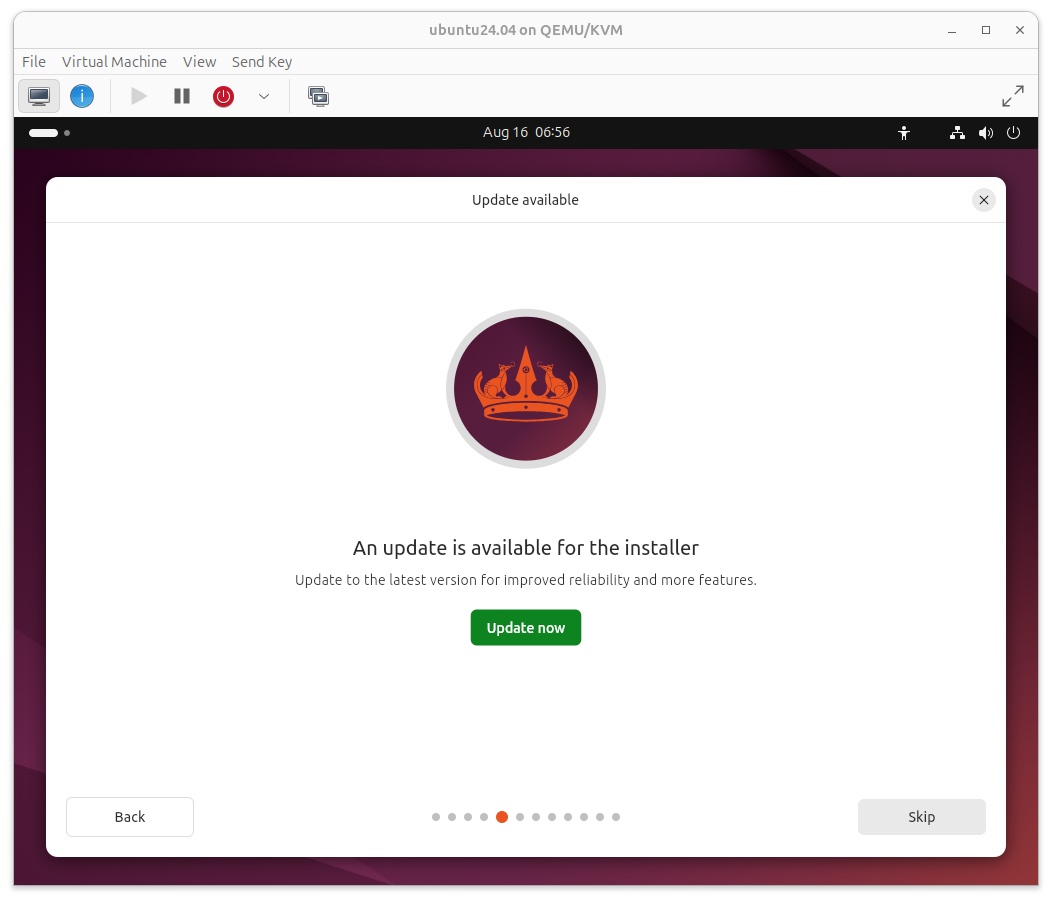
If you are connected to the internet, then you will see the "Update Available" page for the latest package installation. Now click on the update option to start updating the installer. After updating, the installer may relaunch. Complete all the previous steps and go to the new page. The new page looks like a new installer.
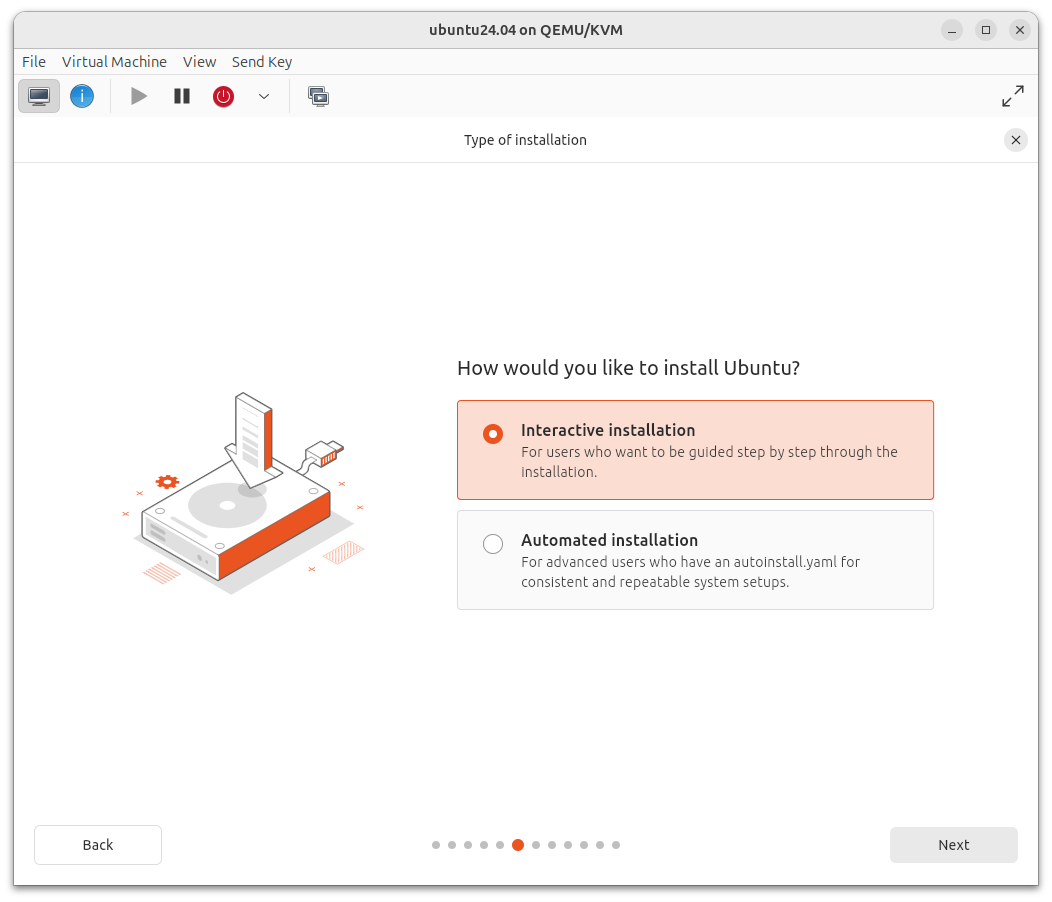
On this page, you can see two types of installation steps: interactive installation and automated installation. Here, select the interactive installation method to customize your Ubuntu, then click on the next option.
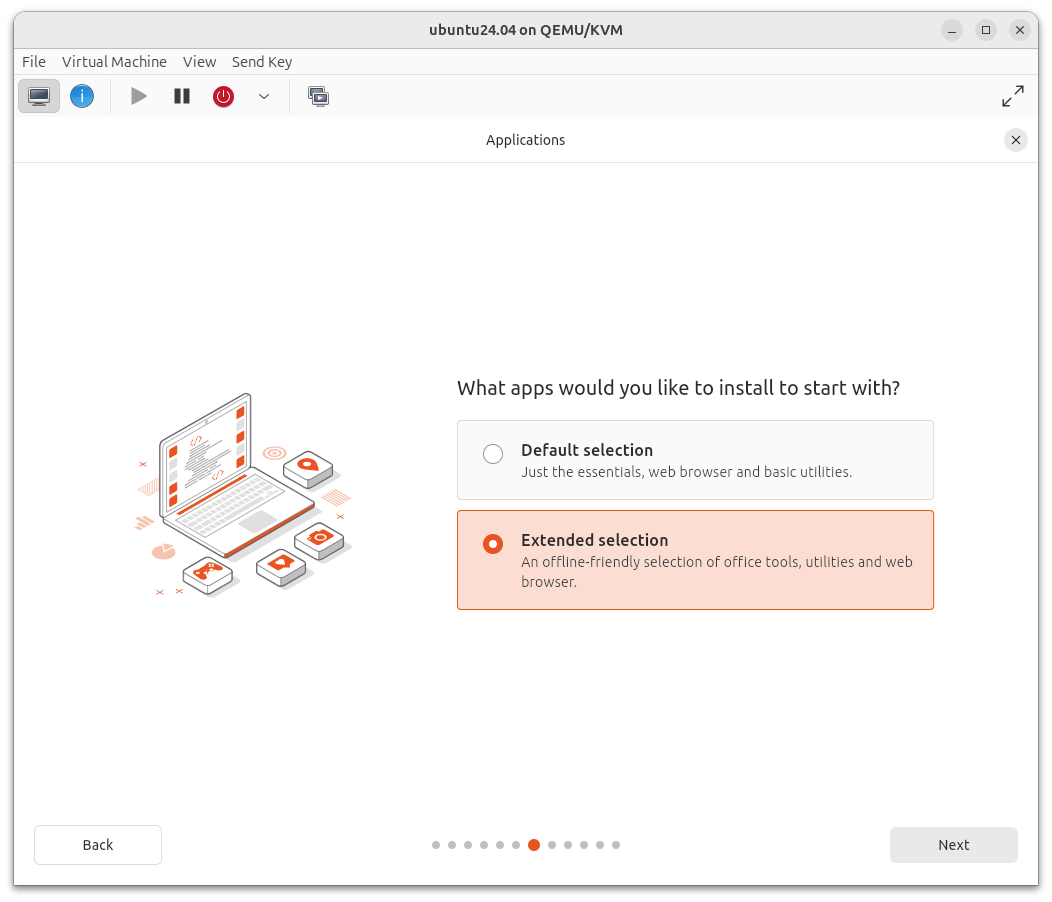
On the next page, you can see the applications option. In the default option, you can get some basic software like a web browser. If you select the extended section, you can get more powerful software and players. If you use low-capacity hardware, then continue with the default option. It's your choice. In the extended section, you can get utilities, office tools, and a browser on your VM. Then click on the next option.
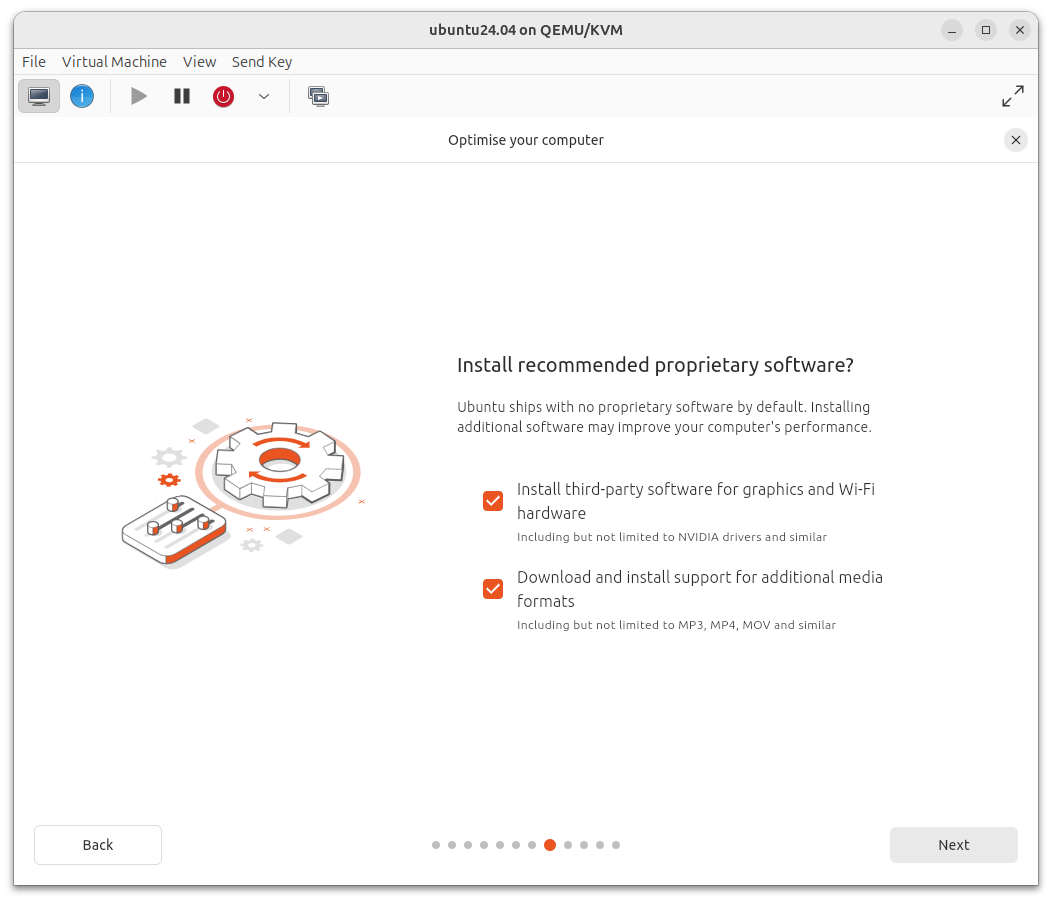
On the next page, you can see "Optimize Your Computer." If you have attached an Nvidia graphics card to your VM and need to install some drivers, then select this option. If you are looking for download, install, and support for additional media formats like MP3, MP4, MOV, and similar, then select this option. Skip if you don't need something in this step.
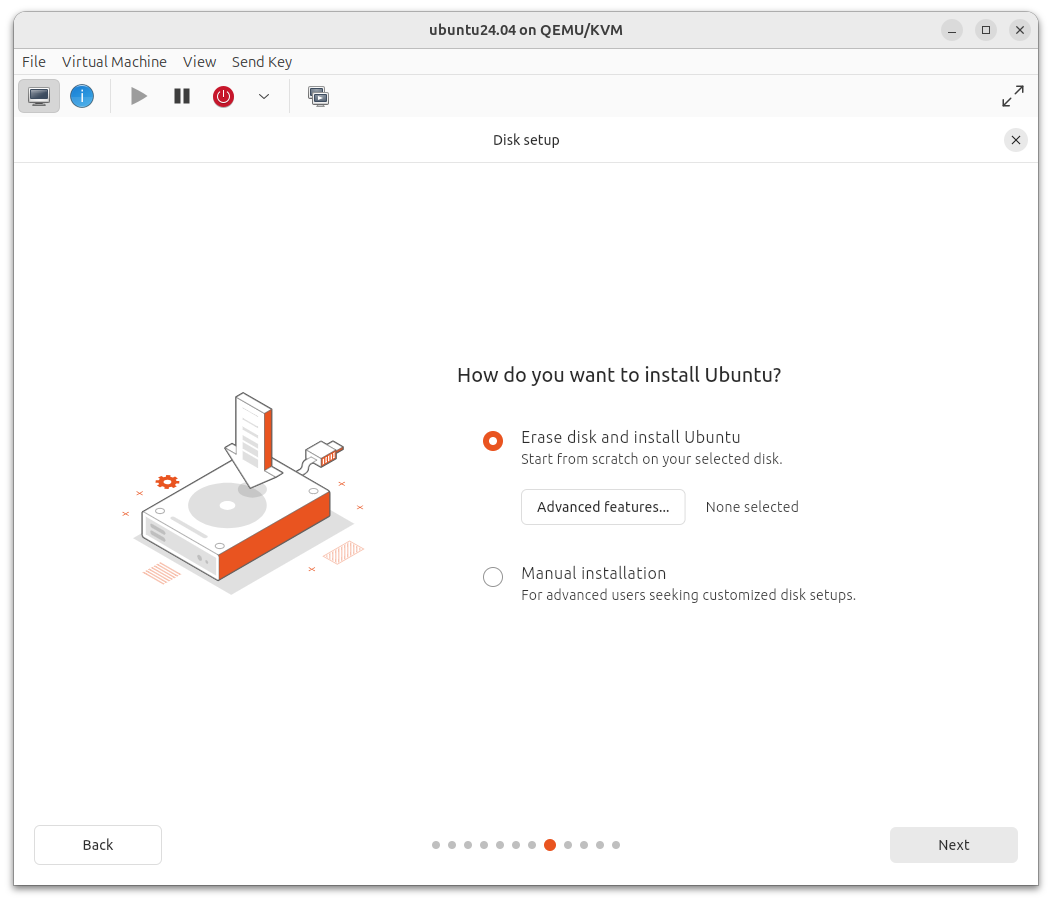
On the next step, you can see the disk setup option. In this option, you can see "Erase Disk and Install Ubuntu." On the virtual machine creation, we also use this option. If you are using hardware and multiple disks are available on your device, then select the second option. Here, we do not need to use the second option. Click on the continue option.
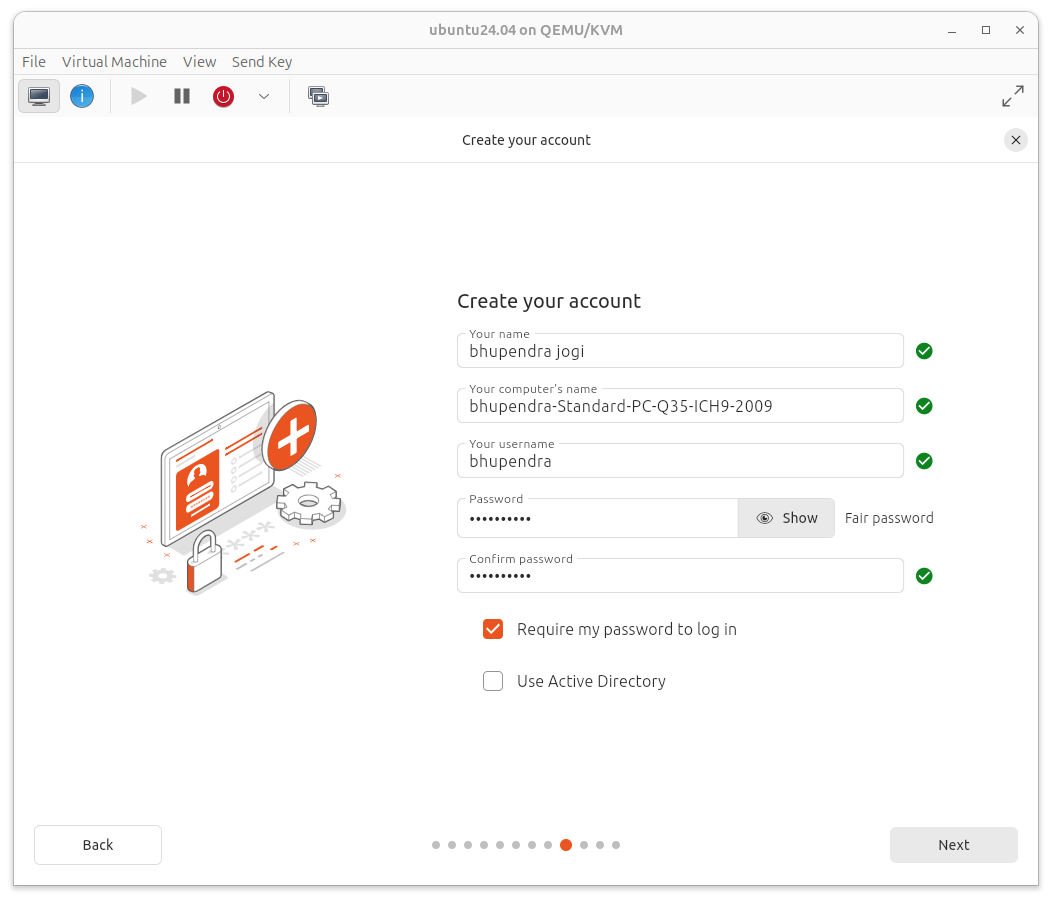
On the next page, you can see the account creation option. In this section, you can input your full name, computer's name, username, and create and verify your password. Now jump to the next step. On this page, you need to select your timezone. The system will automatically detect your timezone if you are connected to the internet or inputted the region previously. After selecting, switch to the next page.
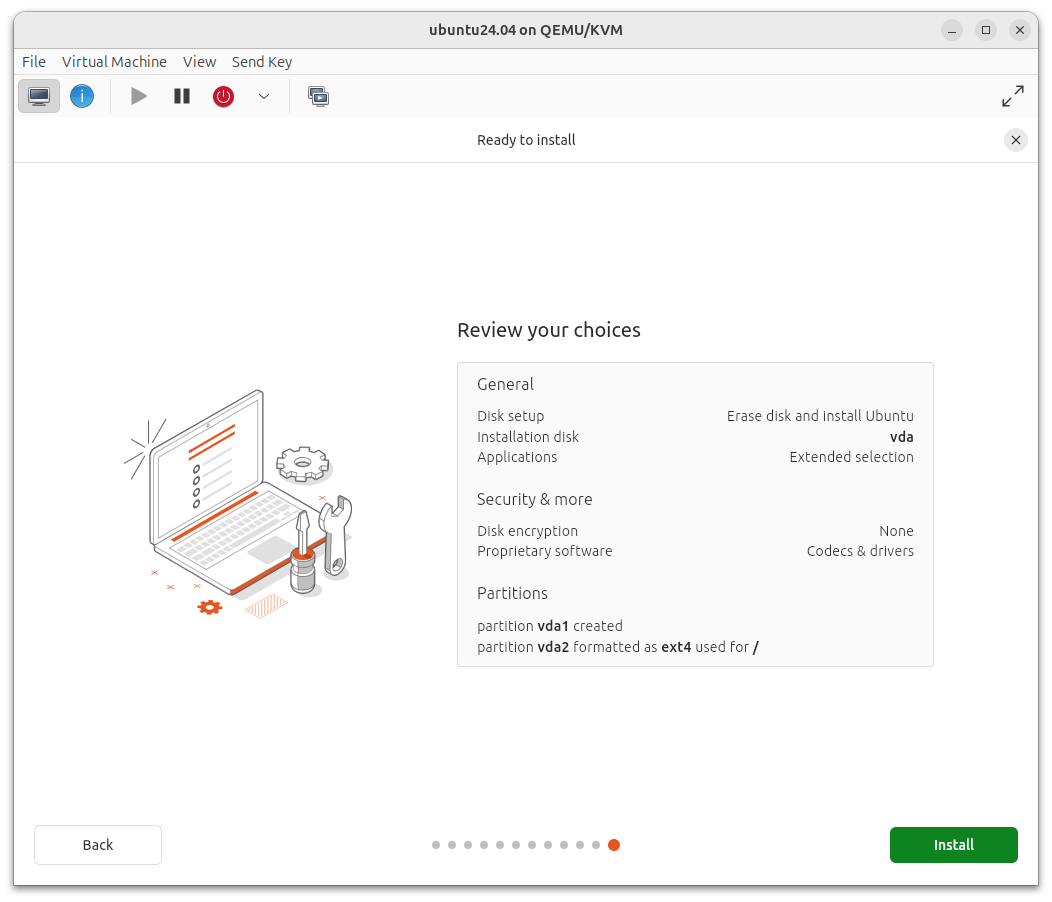
On the next page, you can see the Ready to Install page. Here you can review your choices. If you are done, then click on the install button to start the installation.
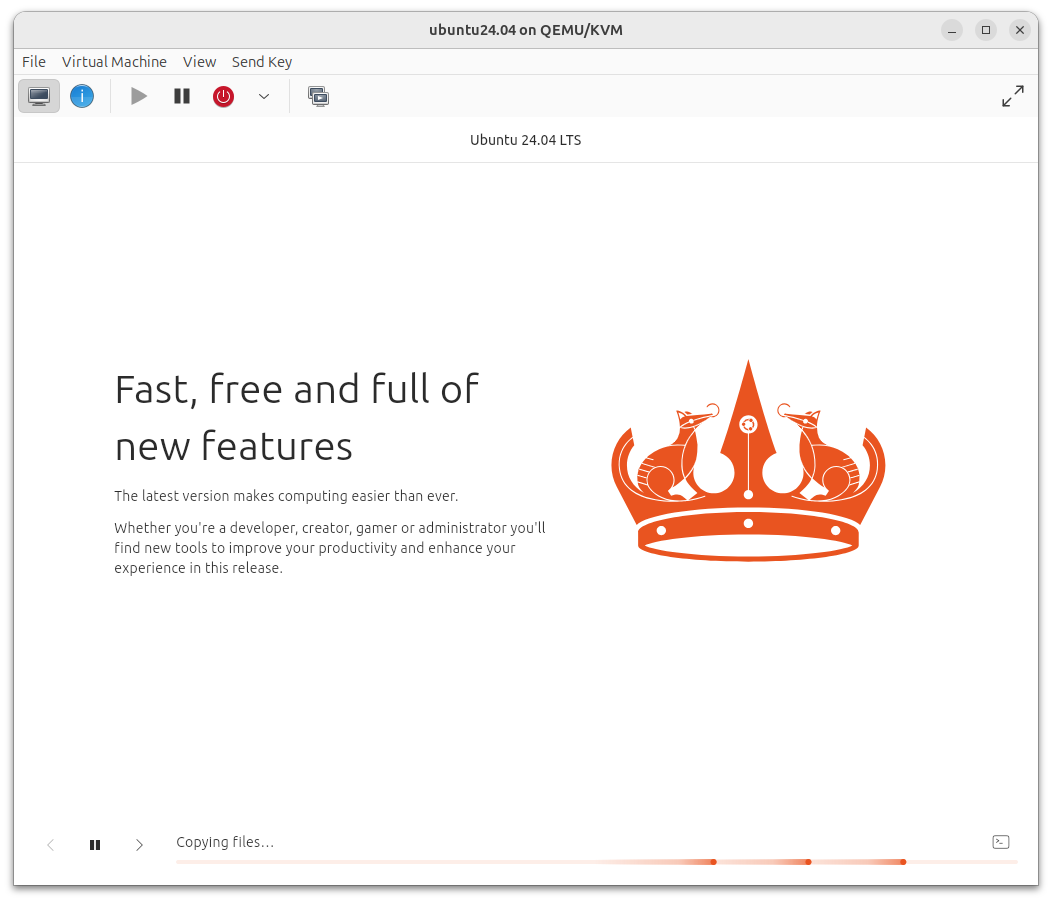
Now the Ubuntu installation package will start. Now you don't need to do anything. You can sit on your chair and relax. Wait until the installation process is complete. After the installation process is complete, you can remove the Ubuntu installation media, then click on the restart option to restart your virtual machine.
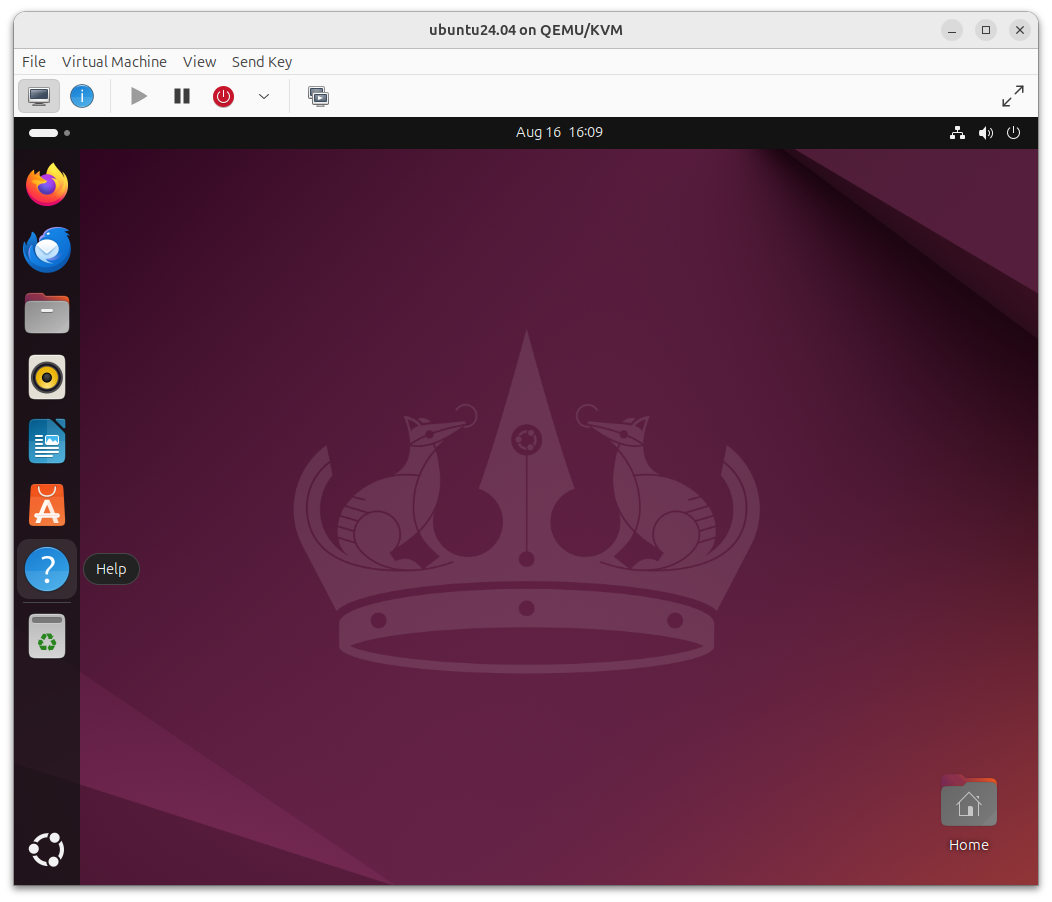
Now your virtual machine is booting from the hard disk. You will see the lock screen with the user. Then input your user password and log in to the Ubuntu desktop.


